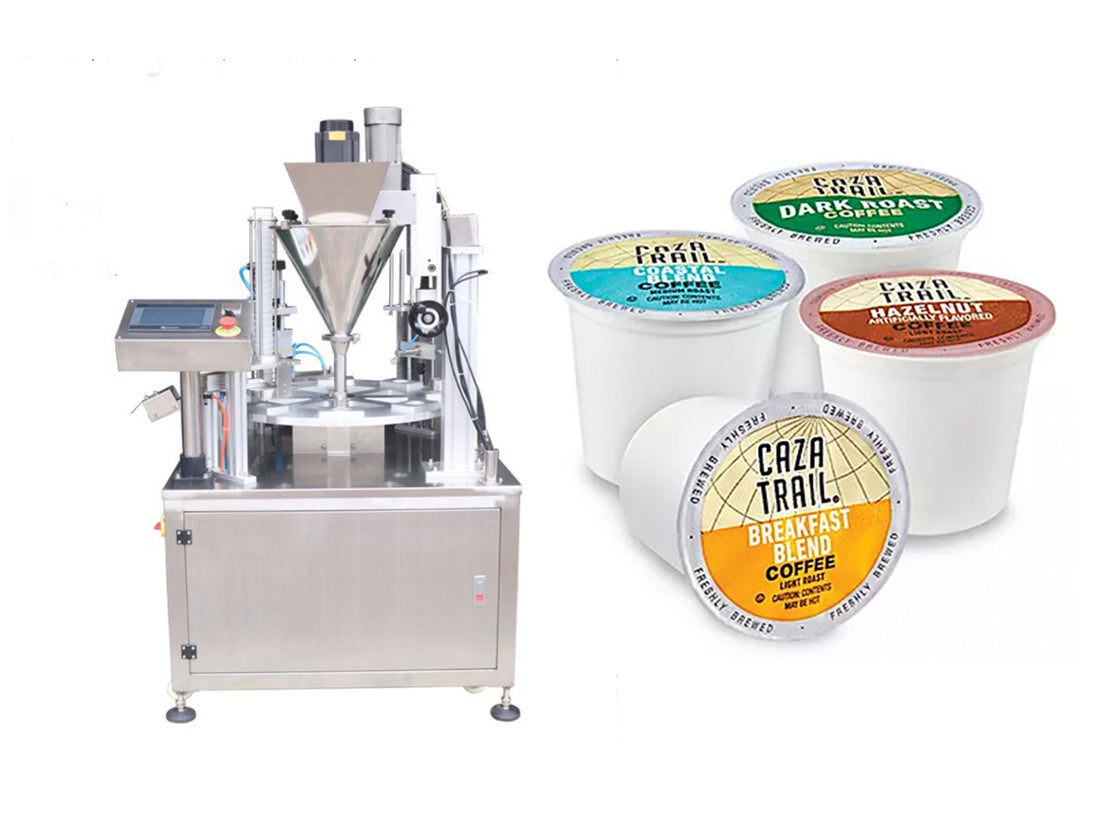
How to Make K-cup(Keurig) Coffee Capsules with our Coffee Capsule Packaging Machine
Share
Preparation
Before starting, make sure you have all the necessary materials. You will need the coffee capsule packaging machine, empty K-cup capsules, your chosen coffee grounds, and any additional filters or sealing materials required by the specific machine model.
Step 1: Setting up the Machine
- Power on the coffee capsule packaging machine and allow it to initialize. Check the control panel to ensure that all systems are functioning properly. There may be indicator lights that show the status of different components such as the filling mechanism, capsule transport system, and sealing unit.
- Adjust the settings on the machine according to the type of coffee grounds you are using and the desired amount of coffee in each K-cup. This usually involves setting the filling volume. Some machines may have digital displays and buttons for precise adjustments, while others may have mechanical dials.
Step 2: Loading the Capsules
- Place the empty K-cup capsules into the designated capsule feeder of the machine. The feeder is designed to hold a certain number of capsules and will automatically transport them one by one to the filling station. Make sure the capsules are properly aligned and inserted in the correct orientation as indicated by the machine's instructions.
- Check that the capsule transport system is working smoothly. The machine should be able to move the capsules along the production line without jamming or misaligning them.
Step 3: Filling the Capsules with Coffee Grounds
- Pour the coffee grounds into the hopper or filling reservoir of the machine. The hopper should have a sufficient capacity to hold an adequate amount of coffee for continuous production. The machine's filling mechanism will draw the coffee grounds from the hopper and dispense them into the waiting K-cup capsules.
- Monitor the filling process to ensure that the coffee grounds are being dispensed evenly and at the correct volume. Some machines may have a visual inspection window near the filling station to allow you to check the filling level. If you notice any irregularities, such as under - filling or over - filling, stop the machine and adjust the filling settings accordingly.
Step 4: Adding Filters (if applicable)
If your K-cup capsules require filters, the machine may have a separate station for inserting them. Place the filters in the appropriate position within the machine's workflow. The filters will be automatically inserted into the capsules after the coffee grounds have been filled, helping to improve the quality of the brewed coffee by preventing coffee grounds from entering the final brew.
Step 5: Sealing the Capsules
- Once the capsules are filled with coffee grounds and have filters (if needed), they will be transported to the sealing station. The machine will use heat, pressure, or a combination of both to seal the capsules. The sealing process creates an airtight environment inside the K-cup, which is essential for preserving the freshness of the coffee.
- Check the quality of the seals. A properly sealed K-cup should have a strong and uniform seal around the edges. If there are any visible gaps or weak spots in the seal, it could affect the shelf - life and quality of the coffee inside. In case of sealing issues, check the sealing mechanism of the machine for any debris or malfunctions and make the necessary repairs or adjustments.
By following these steps, you can effectively use a coffee capsule packaging machine to produce high-quality K-cup coffee capsules.

